GitHub Sync
Storing tokens on GitHub is beneficial as it's version controlled, allows you to work on different branches (think of a brand refresh that lives on a different branch than the current live version) and gives you varying access levels such as Read or Write access. You can also integrate GitHub Actions which will allow you to create a token pipeline with Style Dictionary or other tools.
To set up Github sync for your file, follow these steps:
- Go to Github and create an account.
- Create a new repository. Give it a name, make it private or public, and initialize it with a README (a crucial step).
- In the
Settingstab of your profile, scroll to the bottom to findDeveloper Settingswhereafter you should find Personal Access Tokens. - You can either create a personal access token with the older 'Tokens (Classic)', or with 'Fine-grained tokens':
- Classic: Generate a new token and as a minimum scope you can check
repo. Choose an expiry date, scroll down and clickGenerate token. - Fine-grained tokens: Generate a new token, decide for yourself when that token should expire. Select the repos you want to allow access for and under 'Repository permissions', make sure the option
ContentshasRead and writeselected. Then, scroll down and clickGenerate token.
After creating a token, it's important to copy and save the token immediately since you won't be able to access it again once you close the page. NOTE: Please ensure that you keep the token confidential and never share it with anyone who shouldn't have access to your repository. Treat the token with the same level of security as your personal password. Even if a token is accidentally shared or compromised, it's essential to revoke and delete it promptly to maintain the security of your repository.
Adding GitHub as a Sync Provider
In the Tokens Studio for Figma plugin, go to the Settings tab and in the Add new menu, select GitHub.
- Add a name (this is only used for the plugin UI)
- Paste your Personal Access Token which you just copied.
- Add your GitHub repository (e.g.
tokens-studio/figma-plugin) - Add your default branch (probably
main) - Specify a file path where your tokens should be stored, e.g.
data/tokens.jsonor justtokens.json

Note: If you only have a README (no token files) setup in your repo, you can use a forward slash '/' in the file path as a way of initiating your first commit to setup the repository via the plugin. You will then be able to push your newly created tokens.
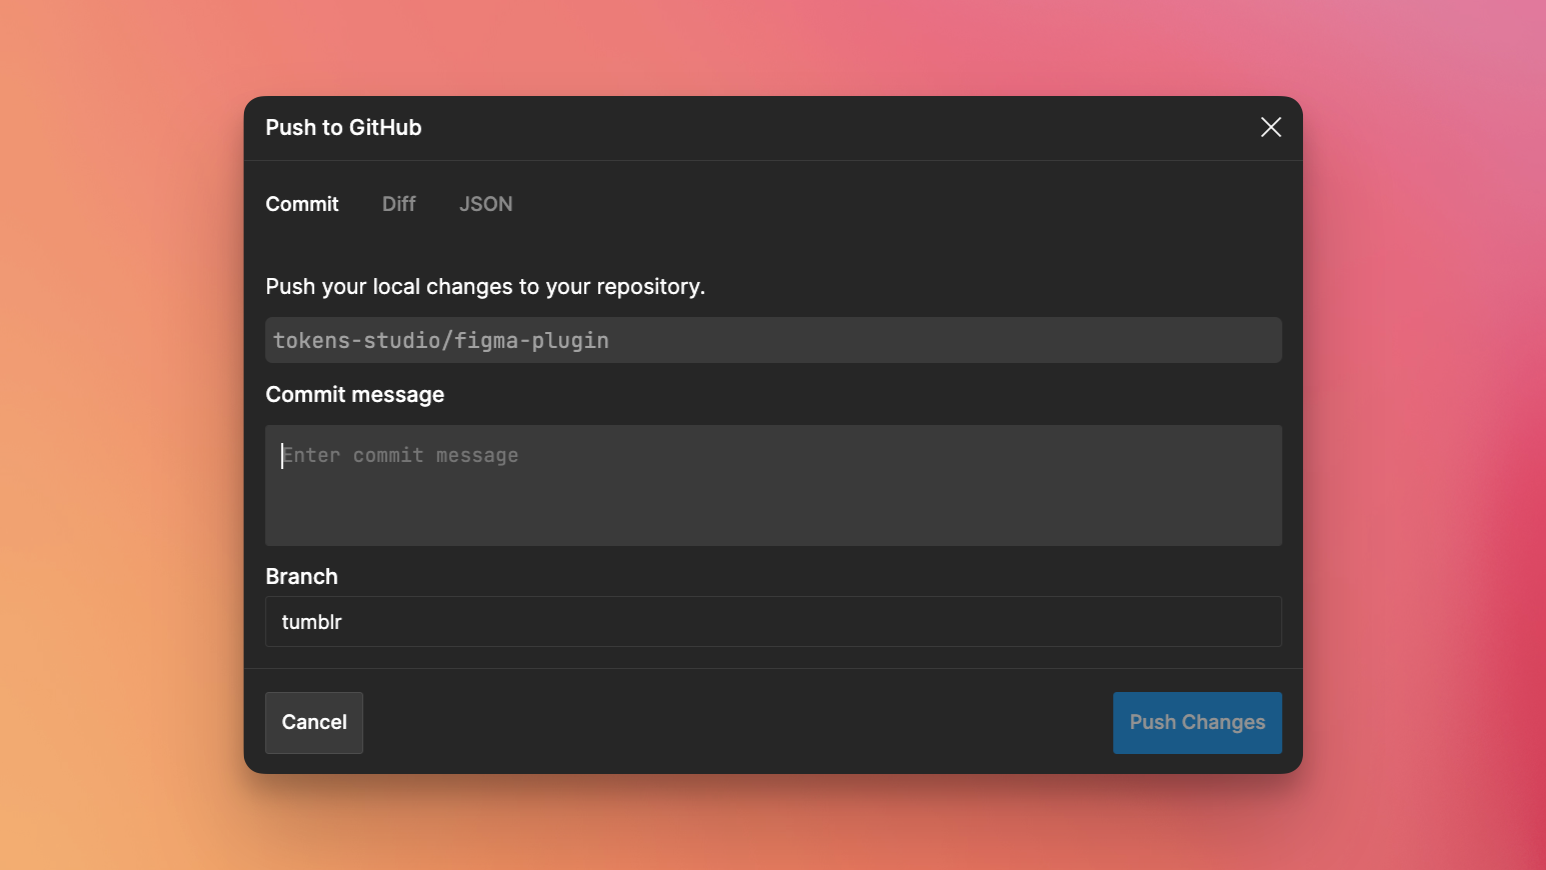
Pushing your initial set of tokens
The plugin will now ask you to push your currently setup tokens to the repository.
Add a commit message, e.g. "Initial commit"
If you're adding a repository that already contains tokens, the plugin will ask you if you want to pull the latest tokens.
NOTE: This will overwrite any locally stored tokens, so make sure to back these up if you don't want to lose them.

Pushing or Pulling Changes
Whenever you make a change in Tokens Studio for Figma, you have to manually hit the Push to GitHub to push your local changes to your repository. You have to enter a commit message with every push. You can also choose the branch you want to push your changes to. This way you could also try out new tokens without overwriting the current token set up you have.
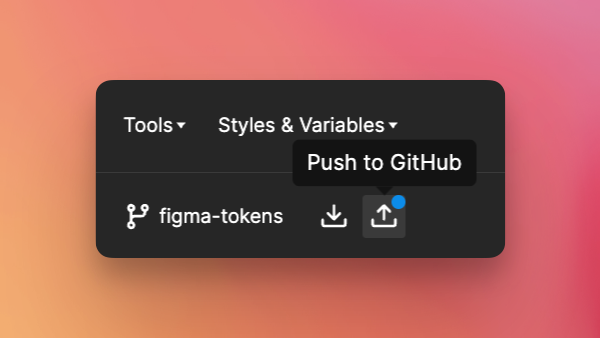
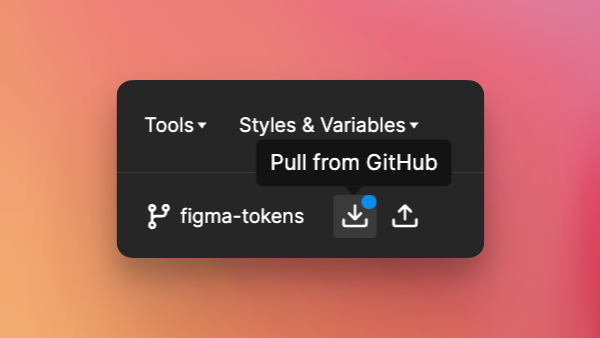
If you only want to pull the latest changes, hit Pull from GitHub. The plugin indicates when your local changes differ from the ones stored on the repository by displaying a blue dot.
How to use tokens stored in GitHub in development?
We have have now moved over from using Token Transformer to using our Custom Tranforms for Style-dictionary to work with Design Tokens.
Examples
A few example repositories that utilise Tokens Studio for Figma, token-transformer, Style Dictionary and GitHub Actions can be found here:
- 1 theme to css variables
- Multiple themes to css variables
- TailwindCSS with dark and light theme
- Multifile, multitheme
Let us know if you have other examples you want to share with the community!